


ORTHOLUTION
Next Generation of Orthodontic mini-implant
-
Indirect Approach
Indirect Approach
An indirect approach is needed for sites in which a direct approach is impossible; these sites include the palatal area or buccal areas between molars.
Required instruments for indirect approach
In order to use an indirect approach, a contra-angled instrument is required (figure 29, 30). Requirements of contra-angled instruments for performing a procedure using an indirect approach are as follows.
- Sufficient torque should be generated for insertion.
- Insertion speed can be controlled. To minimize surgical trauma, the number of rotations for insertion should not exceed 60 RPM. For perforating through cortical bone, approximately 60 ~ 120 RPM is appropriate, and for insertion, approximately 30 RPM is adequate.
- In an indirect approach, accessibility is low. Therefore, instruments should be simple and easy to use.
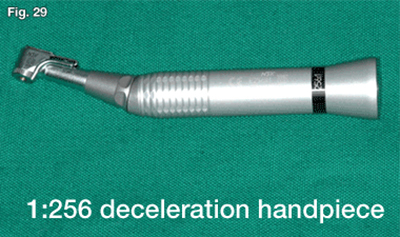
For this purpose, an engine for prosthodontic implants or an 1:256 deceleration handpiece for a low speed engine is appropriate.
Furthermore, an endodontic engine may be used, but this instrument can rarely generate sufficient torque. A 1:125 deceleration handpiece for a low speed engine has excessive rpm and does an inadequate job of minimizing surgical trauma.
A periodontal probe is essential for marking the insertion point on soft tissue and for bone probing (figure 30).
Mx Palatal alveolus instruments for indirect approach
Perforating through cortical bone: 60-120 rpm
Implant placement : 30-60 rpm
Fig. 29 A 1:256 deceleration handpiece for a low speed engine is recommended.
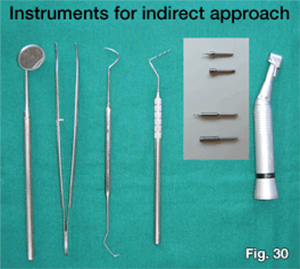
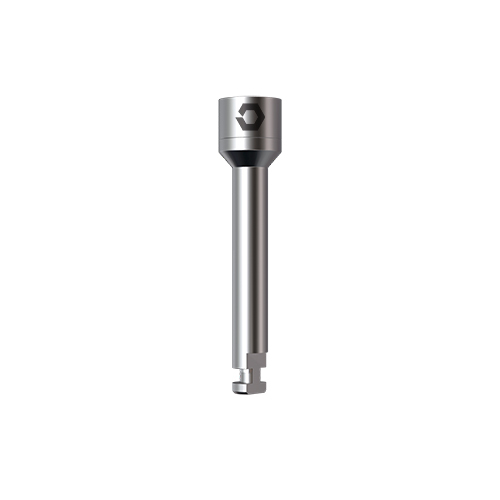
Fig. 30 Required instruments for the indirect approach. For implantation in the palatal alveolus, a short driver tip is required. For implantation in the midpalatal suture area, a long driver tip is required.
Instruments for indirect approach For palatal alveolus
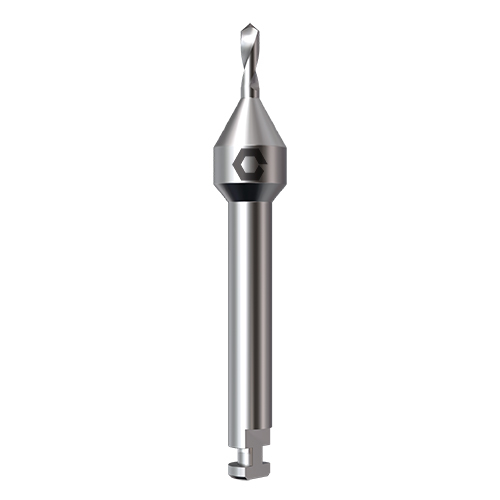
Regular Safe drill contra angle (width dental notch)
Regular driver tip contra-angle (width dental notch)
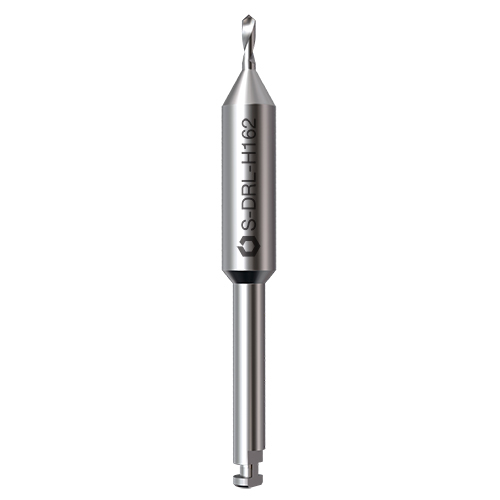
Long Safe drill contra angle (width dental notch)
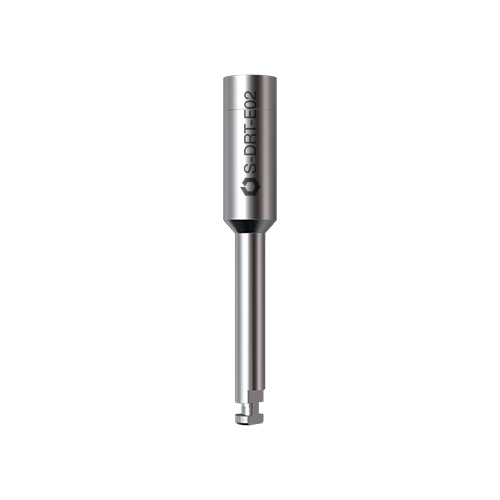
Long driver tip for contra angle (width dental notch)
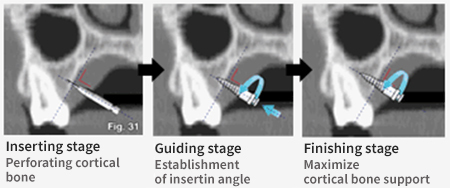
Surgical procedure for indirect approach to palatal alveolus (figure 31)
1. Pre-op examination stage
2. Preparation & marking stage
3. Perforating stage
4. Guiding stage
5. Finishing stage
- ORLUS can be inserted without pre-drilling
- But, pre-drilling through cortical bone is recommended to minimize surgical trauma and eliminate the possibillities of root injuries.
Mx Palatal alvelous surgical procedure Standardization : to avoid Technique sensitivity
Pre-ooerative exam & Anesthesia ↓ Marking & implant selection ↓ inserting : through Soft tissue & Cortical bone ↓ Guiding : establishment of insertion angle ↓ Finishing : Maximize cortical bone support
1. Long Safe drill contra angle (width dental notch) The insertion site should be examined thoroughly by inspection, palpation and panoramic radiograph. And then, infiltration anesthesia is administered on the palatal mucosa.
2. Pre-op exam II & marking stage
After the placement area is scrubbed with Betadine, bone probing is performed to evaluate bone quality using a periodontal probe. If bone appears to be soft and is easily penetrated with a probe, the site of insertion should be changed. Surface topography should be established by palpation to determine the insertion angle
The thickness of soft tissue at the insertion point should be also measured beforehand using a periodontal probe. The implant should be chosen according to the thickness of the soft tissue. If the gingival thickness of the planned position is too thick, the insertion position should be changed.
Then, the insertion site should be marked with the periodontal probe. Using a periodontal probe, the vertical reference line which bisects the interdental area parallel to the axes of the proximal teeth should be marked. The horizontal reference line should then be marked according to the position of the alveolar crest and the required amount of vertical force.
A separate incision is usually not required.
3. Perforating stage
The ORLUS mini-implant has the structure to be inserted without pre-drilling, but pre-drilling with the ORLUS Surgical drill is designed to perforate cortical bone and to prevent root injuries.
To avoid slippage, the operator should work perpendicular to cortical bone during perforating through cortical bone. The moment of perforation can be felt when resistance drastically decreases. During perforating into cortical bone, a minimal amount of vertical force should be applied to prevent unnecessary tissue injuries. Operations should be performed by virtue of the function of the screw, rather than by vertical force. About 120 rpm is appropriate for perforating into cortical bone under flowing saline cooling. Appropriate cooling is needed to minimize damage due to the heat generated during the insertion procedure.
4. Guiding stage: let the screw hold osseous tissue according to the planned implantation angle.
After perforation of cortical bone, an implant should be inserted up to about 2/3 of the full length according to the planned angle of insertion. During this stage, minimal vertical force should be applied as long as the insertion angle is maintained.
In order to avoid root structures and to increase the cortical bone contact area, the insertion angle against the occlusal plane should be approximately 30-45 degrees. As in the perforating stage, the implant should be inserted by virtue of the screw function, not by vertical force. That is, it should be inserted by the turning action of hand-piece.
About 30 rpm is appropriate for the guiding stage under flowing saline cooling.
5. Finishing stage: finish with maximal support from cortical bone because the insertion path is established through the recapitulation procedure. After inserting approximately 2/3 of the full length of the screw and securing its bone engagement, implant placement should be finished with only rotational motion in order to maximize support from cortical bone (figure 32). Because the screw engages with bone, rotational motion is enough to finish the procedure since the screw will transform this rotation into the required translation. Forces in any direction can cause wobbling and compromise intimate contact between bone and implant.
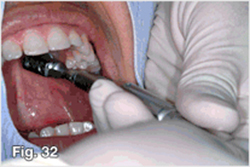
Fig. 32 A firm rest should be secured when using a manual contra-angled long driver. This rest should be obtained from the patients face to apply the rotational force only, especially in the final stage of the insertion for the prevention of wobbling.
- 상호 : (주)오솔루션
- 대표자 : 김정문
- 주소 : 서울 강동구 양재대로 1371 (성내동) 207호
- TEL : 02-483-1212
- FAX : 02-478-0735
- 사업자 등록번호 : 212-81-63456
- EMAIL : orlus@ortholution.com
- Copyright(c) (주)오솔루션. All Rights Reserved.

